


How to Remove Old Wood Flooring and Avoid Common Flooring Installation Mistakes
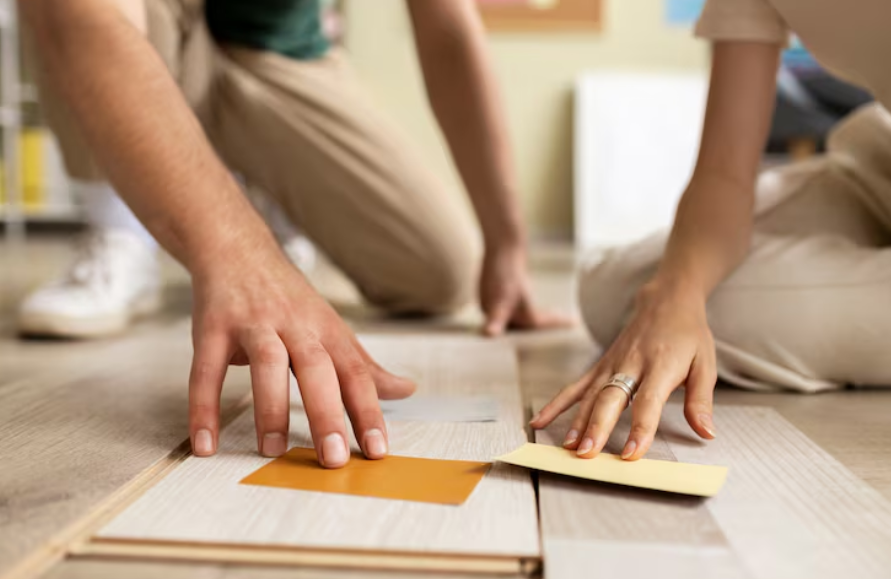
Replacing an old wood floor can completely change the appearance, comfort, and functionality of a room. However, successful flooring renovation requires more than simply pulling up old boards and installing new material. Proper preparation, careful removal, accurate measurements, and attention to installation details all play important roles in achieving a durable and attractive result. Understanding how to remove old wood flooring and recognizing common flooring installation mistakes can help homeowners approach a flooring project with greater confidence.
Understanding the Condition of Your Existing Floor
Before beginning any flooring removal project, inspect the existing wood carefully. Look for loose boards, damaged sections, nails, staples, adhesive, moisture problems, or areas where the floor has become uneven. The condition of the subfloor underneath the wood is particularly important because it can affect the installation of the replacement flooring.
Older floors may also have several layers of materials installed over one another. Taking time to identify how the existing floor was installed can make the removal process more manageable and reduce unnecessary damage to the subfloor.
How to Remove Old Wood Flooring
Learning how to remove old wood flooring begins with preparing the work area. Remove furniture, rugs, and other objects from the room. Protect nearby walls, doors, and surfaces from dust and debris. Wearing gloves, protective eyewear, and appropriate footwear can also make the project safer.
Start by identifying a practical area where you can begin lifting the flooring. If the boards are nailed down, a pry bar can help separate them from the subfloor. Work slowly rather than forcing the boards upward aggressively. Excessive force can damage the subfloor or create unnecessary splinters.
For flooring secured with nails or staples, use suitable tools to remove fasteners whenever possible. If boards are difficult to lift, carefully breaking them into smaller sections may make removal easier. However, take care not to damage plumbing, electrical components, or structural materials beneath the floor.
If the old flooring is glued down, removal may require additional effort. Adhesive can sometimes be scraped away using appropriate tools, but stubborn adhesive may require specialized removal techniques. The goal is to leave the subfloor as clean and level as possible.
Once the old wood has been removed, inspect the entire surface. Remove protruding nails and staples, sweep away debris, and identify areas that need repair before installing the new floor.
Preparing the Subfloor
A clean and stable subfloor is one of the most important parts of a flooring project. Check for soft spots, cracks, moisture damage, uneven areas, and other problems. Any structural or moisture-related concerns should be addressed before new flooring is installed.
An uneven subfloor can cause movement, squeaking, gaps, or premature wear. Depending on the flooring material, the surface may need leveling, patching, sanding, or other preparation.
Allowing the subfloor to remain dirty or damaged is one of the common flooring installation mistakes that can create problems long after the project appears finished.
Measuring the Room Correctly
Accurate measurements are essential when ordering and installing flooring. Measure the length and width of the room and account for unusual spaces, closets, alcoves, and doorways. It is generally wise to purchase enough flooring to accommodate necessary cuts and a reasonable amount of waste.
Failing to measure carefully can result in insufficient materials, mismatched replacement pieces, or unnecessary delays. Planning the layout before installation can also help determine where seams and cuts will appear.
Acclimating Wood Flooring
Wood flooring can respond to changes in temperature and humidity. Depending on the specific flooring product and manufacturer requirements, the material may need to acclimate to the installation environment before installation.
Skipping the recommended acclimation process is another example of common flooring installation mistakes. Flooring installed before it has properly adjusted to the environment may later expand, contract, develop gaps, or experience other movement-related problems.
Always follow the flooring manufacturer's installation instructions regarding acclimation, moisture conditions, and acceptable environmental ranges.
Choosing the Right Installation Method
Different flooring products require different installation methods. Some wood flooring may be nailed or stapled, while engineered products may be installed using floating or adhesive-based systems.
Using an unsuitable installation method can compromise the performance of the entire floor. Before beginning, understand whether the selected flooring is designed for the existing subfloor and whether the installation method is appropriate for the room.
Avoiding Poor Layout Planning
The direction and starting point of the flooring can influence the finished appearance. A poorly planned layout may leave very narrow pieces along walls or create awkward transitions around doorways.
Plan the first rows carefully. Consider room dimensions, natural light, adjacent flooring, and transitions between spaces. Taking time to establish a balanced layout can make the completed floor look more intentional and professional.
Maintaining Proper Spacing
Wood flooring needs appropriate expansion space because wood naturally responds to changes in moisture and temperature. The exact spacing requirements depend on the flooring product and installation instructions.
Installing boards too tightly against walls is among the common flooring installation mistakes that can lead to buckling or other movement-related issues. Use the manufacturer's recommended spacing and install appropriate transition and trim components where necessary.
Avoiding Excessive Force During Installation
Flooring boards need to fit together securely, but excessive force can damage their edges and locking mechanisms. Instead of forcing boards into place, determine why they are not fitting correctly.
Check for debris, incorrect alignment, damaged boards, or subfloor irregularities. A damaged tongue, groove, or locking edge can create problems in neighboring boards, so replace defective pieces when necessary.
Managing Waste and Damaged Materials
Not every piece of flooring will be suitable for installation. Boards with significant damage, warping, broken edges, or other defects should be separated from usable material.
Plan cuts strategically to reduce waste. Longer pieces may be useful in visible areas, while shorter pieces can sometimes be used where appropriate according to the installation pattern and product requirements.
Common Flooring Installation Mistakes to Avoid
Several mistakes occur repeatedly during flooring projects. Installing over an unsuitable or unprepared subfloor, ignoring moisture concerns, failing to follow manufacturer instructions, using incorrect fasteners, poor measurement, inadequate expansion space, and rushing the layout process can all affect the finished floor.
Another mistake is failing to inspect the floor as installation progresses. Small alignment problems can become much more noticeable after several rows have been installed. Check your work regularly so corrections can be made early.
Understanding common flooring installation mistakes gives homeowners an opportunity to prevent avoidable problems rather than trying to correct them later.
When Professional Help Makes Sense
While some homeowners are comfortable handling flooring projects themselves, larger or complicated renovations may benefit from professional assistance. Difficult adhesive removal, severely damaged subfloors, unusual room layouts, extensive repairs, or specialized flooring materials can make the project more challenging.
Professionals can also help determine whether the existing floor should be removed completely or whether it can serve as a suitable base for another flooring system.
Final Thoughts
A successful flooring renovation begins before the first new board is installed. Knowing how to remove old wood flooring safely and methodically helps protect the subfloor and creates a better foundation for the replacement material. Careful inspection, proper preparation, accurate measurements, appropriate installation techniques, and attention to manufacturer requirements can significantly improve the finished result.
At the same time, recognizing common flooring installation mistakes can help homeowners avoid problems such as uneven surfaces, unwanted movement, gaps, damaged boards, and premature wear. Whether you choose to complete the project yourself or work with a flooring professional, thoughtful preparation and careful installation are key to creating a floor that looks attractive and performs well for years to come.

 English
 Arabic
 French
 Spanish
 Portuguese
 Deutsch
 Dutch
Dutch
 Italiano
 Russian
 Romaian
 Portuguese (Brazil)
 Greek
Greek