


Residential Solar Panel Installation: 10 Steps to Follow
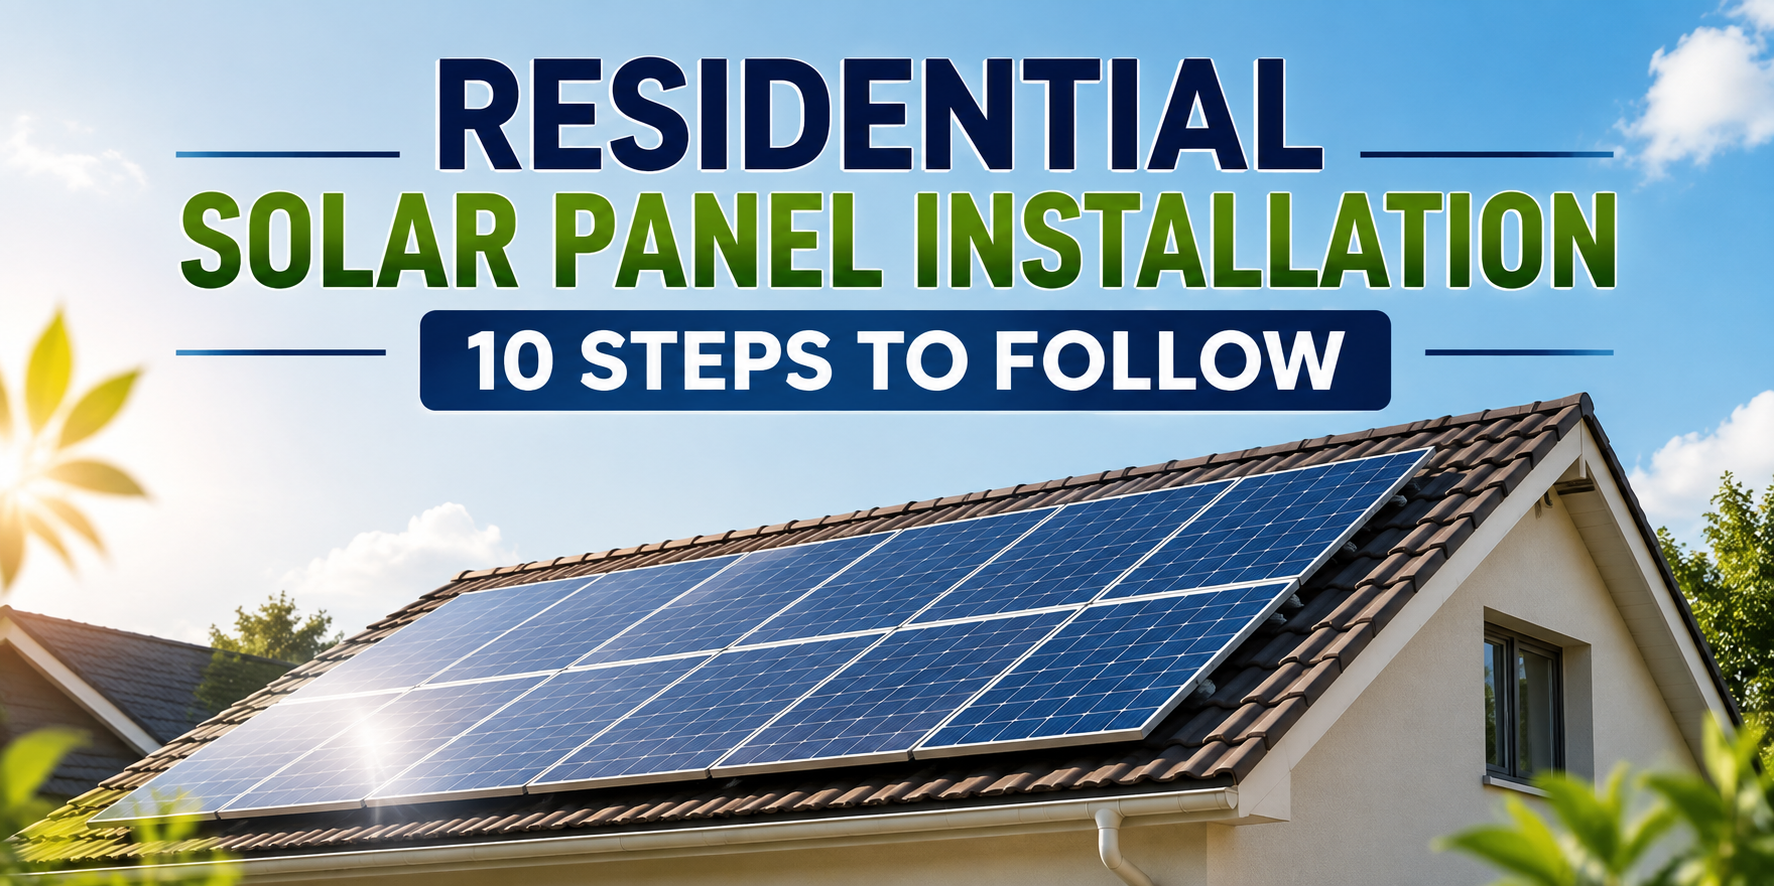
Homeowners everywhere are looking for ways to cut down on monthly costs. Switching to clean energy is a great way to do this while helping the planet. Residential Solar Panel Installation lets you generate your own power from the sun. This simple move can lead to big savings on your electric bills and make your home more modern.
Going solar is a big project, but it does not have to be scary. When you know what to expect, the process feels much smoother. This guide will help you understand every part of the process so you feel confident making the switch to clean, renewable energy for your family.
How to Prepare Your Home for Solar Panel Installation
Check Your Rooftop Space
Residential Solar Panel Installation starts with a look at your roof. You need enough open space for the panels to sit. If you have many chimneys, vents, or skylights, it might limit how many panels you can fit. A clear, flat, or sloped area is best for catching the most sun.
Check Roof Condition and Strength
Next, look at how strong your roof is. Solar panels are heavy and stay on for 25 years or more. If your roof is old or has leaks, it is best to fix it or replace it before the panels go on. It is much cheaper to fix the roof now than to take the panels off later for repairs.
Identify Shading and Sunlight Availability
Panels need direct sunlight to work well. You should check for shade from nearby trees, tall buildings, or power lines. If your roof is covered in shade for most of the day, your system will not make much power. Sometimes, trimming a few tree branches can make a huge difference.
Review Your Monthly Electricity Consumption
Finally, look at your electric bills from the last year. This helps you know how much power you use every month. By knowing your usage, you can figure out how many panels you need to cover your needs and save the most money.
Step-by-Step Residential Solar Panel Installation Process
Step 1: Site Survey and Rooftop Inspection
The Residential Solar Panel Installation process begins with an expert visit. An engineer will come to your house to check the roof structure. They also check your electrical panel to see if it can handle the new power from the sun. This step ensures your home is safe for the upgrade.
Step 2: Solar System Design and Planning
Engineers create a custom plan for a Residential Solar Installation. This plan includes the size of solar system you need based on your past electric bills. They decide where each panel will go to get the most sun throughout the day.
Step 3: Selecting Solar Panels and Equipment
You will pick the panels and parts for your home. High-quality panels work better in low light and last longer. You also need to choose a good mounting system that can stand up to wind and rain.
Step 4: Getting Required Approvals
You cannot just start building right away. You need permits from your local government. You also need permission from your power company to connect your system to the local lines. Your solar company usually helps with this paperwork.
Step 5: Installing the Solar Mounting Structure
Workers start by putting the foundation on your roof during your Residential Solar Panel Installation. They bolt metal rails to your roof rafters. These rails are very strong and hold the panels in place even during big storms.
Step 6: Installing Solar Panels on the Rooftop
This is the Residential Solar Rooftop Panel Installation phase where the panels are attached to the rails. The team carefully lifts the panels and secures them. They also connect the wires between each panel so the electricity can flow.
Step 7: Installing the Solar Inverter
The inverter is a box that turns the sun's power into power your house can use. It is usually placed near your main electrical panel. This is a key part of the system that keeps everything running correctly.
Step 8: Connecting the Electrical System
An electrician connects the solar system to your home's main power board. They add safety switches and meters. This part of the job ensures that your solar power can run your lights, fridge, and TV safely.
Step 9: Grid Connection and Net Metering
You connect your system to the city power lines. This is when net metering starts. This system allows you to send extra power you don't use back to the grid. In return, the power company gives you credits on your bill.
Step 10: Testing and Commissioning the Solar System
The final step of Residential Solar Panel Installation is the big turn-on. A pro checks every wire and connection. Once they see that the power is flowing and everything is safe, they give you the okay to start using your free energy.
How to Choose the Right Residential Solar Installation Company
Check Experience and Expertise
Finding the right team is very important. You should find someone who is an expert in Residential Solar Panel Installation. Check how many years they have been in business. A company with experience knows how to handle local permits and technical issues quickly.
Compare Solar Equipment Quality
You should also look at the parts they use. Not all solar panels are the same. High-quality panels make more power and have better warranties. A good company will explain the difference between the brands they offer.
Review Installation and EPC Services
A good company offers full EPC services. This stands for Engineering, Procurement, and Construction. It means they handle everything from the first design to the final switch. This makes the project much easier for you.
Check Warranty and After-Sales Support
Solar is a long-term investment. Make sure the company offers a good warranty on their work and the equipment. You also want a team that will answer the phone if you have questions or need a check-up later on.
Review Previous Solar Projects
Always check their previous projects. Ask to see photos of their work or read reviews from other homeowners. This shows you if they do a neat job and if their customers are happy with the results.
Why Choose Raynex Power Solution?
Raynex Power Solution makes the switch to solar easy and stress-free. We have a team of experts who care about your home and your savings. We only use the best equipment and handle all the boring paperwork for you. Our goal is to help you save money with a solar system that lasts for decades without any trouble.
Conclusion
Residential Solar Panel Installation is a great investment for your family's future. It lowers your monthly bills and helps the environment at the same time. By following these steps and choosing a trusted partner, you can enjoy clean energy for a long time. Start your journey today and see how much you can save with the power of the sun.
Frequently Asked Questions
How long does solar panel installation take?
The actual work on your roof usually takes only 1 to 3 days. However, the whole process, including permits and paperwork, can take several weeks.
Do solar panels work on cloudy days?
Yes, solar panels still work when it is cloudy. They will make less power than on a sunny day, but they are still active and generating energy.
Will solar panels damage my roof?
If they are installed by professionals, they will not damage your roof. In fact, they can protect the part of the roof they cover from sun and rain.
Do I need to buy batteries?
You do not have to buy batteries if your home is connected to the city grid. You can use the grid as your backup through a system called net metering.
How long will my solar system last?
Most modern solar panels are built to last for 25 to 30 years or even longer with basic care.

 English
 Arabic
 French
 Spanish
 Portuguese
 Deutsch
 Turkish
 Dutch
Dutch
 Italiano
 Russian
 Romaian
 Greek
Greek