


Tera Ceramic Tiles Installation Guide
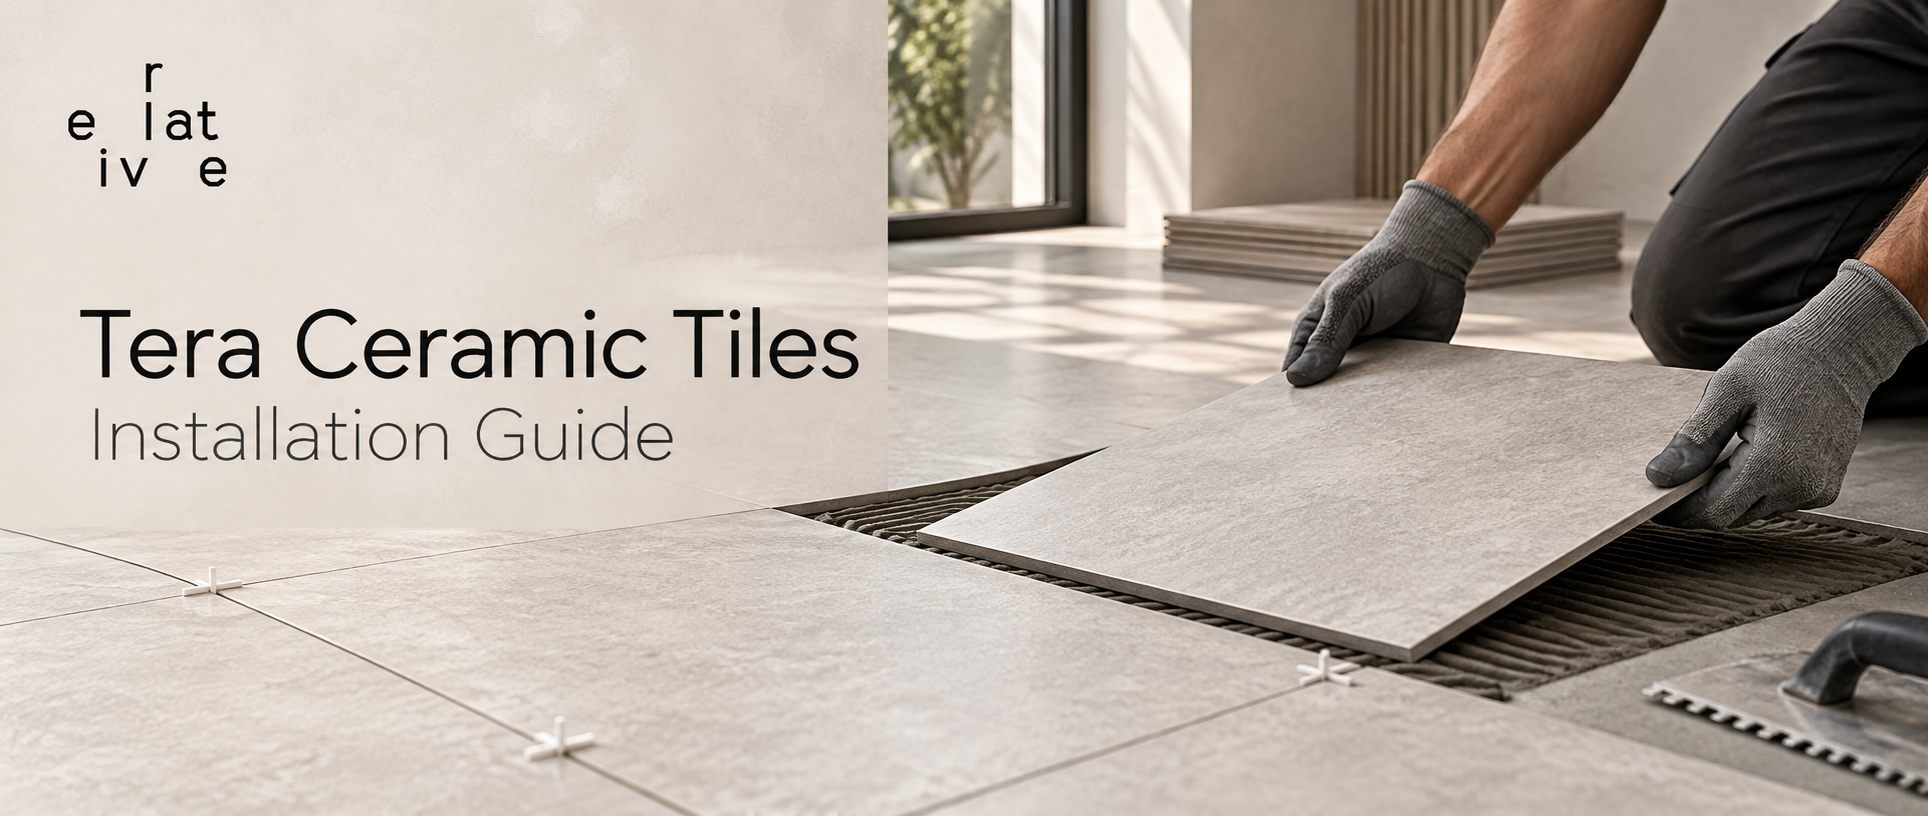
Ceramic tiles can transform the entire appearance of a room. They offer color, texture, character, and practicality in equal measure. Yet, selecting the right tiles is only half the battle. The right installation process is equally vital if the end result is to be aesthetically pleasing and durable.
The Tera ceramic tiles feature an artisan quality, characterized by slight differences in their coloring, shading, sizing, and thickness. Proper installation enhances their natural appearance, creating a stable and level finish at the same time.
Prepare the Surface
First, you need to ensure that the surface is prepared for the tiles. You need to have the substrate cleaned, level, and dry before proceeding with installation. Any form of dust, dirt, loose materials, and any kind of unevenness should be sorted out first.
Use an underlayment if required. It is recommended that you take your time in this step, as any kind of unevenness in the surface will affect your installation process.
Plan the Tile Layout
Before applying any adhesion process to the surface, arrange the tiles to see what their combined appearance looks like. This is especially important when dealing with Tera tiles, since they may be slightly different in terms of color and tonality.
Rearrange the pieces to distribute these tonal variations naturally without clustering the similar ones. Moreover, planning your layout in advance will help you avoid any awkward cuts in easily noticeable locations.
Apply the Adhesive
When you are satisfied with the arrangement of the tiles, use an appropriate and quality adhesive that is compatible with both the tile and the area of installation. Apply the adhesive on the surface using a recommended trowel.
Where the tiles are uneven or vary slightly in size, the method of back buttering can come in handy to provide better contact between the tile and the adhesive.
It should be applied in a manner that ensures full coverage without any gaps under the tile.
Place the Tiles
Gently insert each tile into the adhesive and press it down for good contact. When it comes to ceramic tiles with natural imperfections, try not to insist that every single one is identical. Such minor imperfections are an integral part of their handmade nature.
As per the installation instructions for Relative FW ceramic tiles, no spacers should be used; rather, tiles should form organic joints. In this case, a rubber mallet can help you.
Cutting the Tiles
The tiles may require cutting near corners, edges, outlets, or any other obstacle. One can either use a manual tile cutter or diamond saws that use water jets, according to the project requirements and the types of cuts that will be needed.
Careful measurements must be made before cutting. Ceramic tiles are hard, and patience is important when carrying out the job.
Allow the Adhesive to Cure
After installing all the tiles, allow adequate drying time for the adhesive before beginning the grouting process. Brands like Relative FW recommend waiting about 24 to 48 hours after adhesive application before grouting.
Actual drying time will vary based on the type of adhesive used and the conditions under which it was applied.
Grout the Tiles
Once the glue dries, use grout that is suitable for use with ceramic tiles. Be careful to ensure that the grout is evenly applied within the cracks without smothering the entire tile surface.
Due to their natural variation in terms of colour and tone, the selected grout shade may also affect the final appearance. A matching grout would ensure continuity, while a contrasting one would allow the tiles to appear distinct from each other.
Final Thoughts
Installing tiles correctly is never going to be a complex process, yet it needs patience and preparation. Firstly, it requires a clean and level surface; secondly, a proper layout; thirdly, appropriate adhesive; fourthly, carefully placed tiles; fifthly, adequate curing time; and sixthly, appropriate grouting.
Firstly, it should be noted that the hand-made ceramic tiles can have slight variations in color, dimensions, and tone. Such variations are not defects. These are characteristic features which make Tera tiles unique. When the tiles are correctly installed, these variations become one of the best features of the tiles.

 English
 Arabic
 French
 Spanish
 Portuguese
 Turkish
 Dutch
Dutch
 Italiano
 Russian
 Romaian
 Portuguese (Brazil)
 Greek
Greek